Make a secret book
Discover how to turn an old book into a super-secret hiding place for all of your most precious treasures!

For many of us, the memories of building woodland dens and forts are childhood–defining moments. It’s part of who we were and what we’ve grown up to be. Reminding us of adventures and explorations into lands unknown and sites unseen, feelings that are often hard to re-capture as adults.
For some, dependent on lifestyle and location, the opportunity to do such things may never have been possible, but that doesn’t stop the ideas and the drive you have to find activities that help you connect with your children and enjoy life as a family.
Whether this desire to get your kids back to nature comes from a sense of nostalgia, an interest in bushcraft and survival skills, or simply a way to get your children off their screens and into the great outdoors, building camps in the woods is a positive nature activity that will stay with your children their whole lives.
In our Ultimate Guide we’ll cover everything (and we do mean everything) you need to know about making forest forts and woodland dens with your kids. From how to plan your activity to fit your location and time, to what types of camp you can make, all the way through to some EPIC tips on how to take your fort to the next level.
So let’s take a look at the first step and then we’ll walk you through how to make a forest fort cool enough to make even a wood elf jealous.
First off, when are you going to build the camp? What’s it going to be used for and how often are you going to use it?
The answers to these questions are going to help you define the scope and scale of your project.
If you’re lucky enough to live near some woods and have easy access to them then you can invest in something more elaborate or long term – something that you build up over time and the kids and their friends can use as an ongoing club house. But if you’re only out for a day and need to put something together in an hour, then the scope of your fort needs to reflect this.
What type of woods or forest are you going to be building it in?
Do you know if they have any guidelines or rules you should be adhering to? For instance in some woodlands and campsites they don’t like structures being left up overnight, whilst in other wilder environments it really doesn’t matter.
What resources do you have available? What tools are your children allowed to use, and how much are you going to help them?
Saws, hatchets and knives are obviously very useful for cutting old branches to size and stripping leaves, but we all vary in terms of what equipment we have, what we allow our children to use (dependent of course on age and exposure) and under what level of supervision.

One thing you must make sure you have to hand…
A journal or scrapbook! If you’re going to all this effort to build the most amazing forts with your kids, then make sure you have somewhere to help them hold on to those memories.
Every child needs a record of their exploits – a journal of their summer adventures. Our Epic Summer Journal (on Amazon) encourages kids to log their adventures and take note of their explorations. From building up a collection, to creating rubbings and sketches, there’s room for all types of discoveries!

The following are all the things that should be taken into consideration when building a forest fort, no matter how long you have available.

As mentioned above, when you’re choosing an area to make your camp, there are certain features in the trees and woods that will provide opportunities for different types of den to be built.
In this section we’ll be looking at the top 3 main types of forest fort or bushcraft shelter that can be built using scavenged woodland materials. We’ll start with the easiest, working our way up to a more complex structure. The idea being that you should be able to walk into any wood and easily identify what type of den is best suited for your needs (time etc) and for the area you’re in.

By far the easiest den to build, the lean-to provides surprisingly good cover from the elements with relatively little work required. If you find the right tree(s) to base it on, and with a little adult help to get your little ones started (and of course to carry any particularly large branches!), you’ll have this up within an hour.
A great starter fort, it can look quite impressive for such a simple shelter and it’s perfect for creating a wind deflector that you and the family can sit behind, enjoying a picnic in the woods or sitting around a campfire.
Complexity: Simple
What you need to look out for:
Positives:
Negatives:
A two–sided, wedge–shaped hut, its name comes from the shape formed at the front of the shelter. The A-frame starts feeling a lot more fort–like than a Lean-to, and gives a real sense of having a woodland den to hide out in.
And with only one tree needed to prop your ridge pole against, it can be even easier to find a good starting spot for an A-frame than a Lean-to, but it does need a little more work in terms of finding and placing the branches for the sides.
Complexity: Medium
What you need to look out for:
Positives:
Negatives:

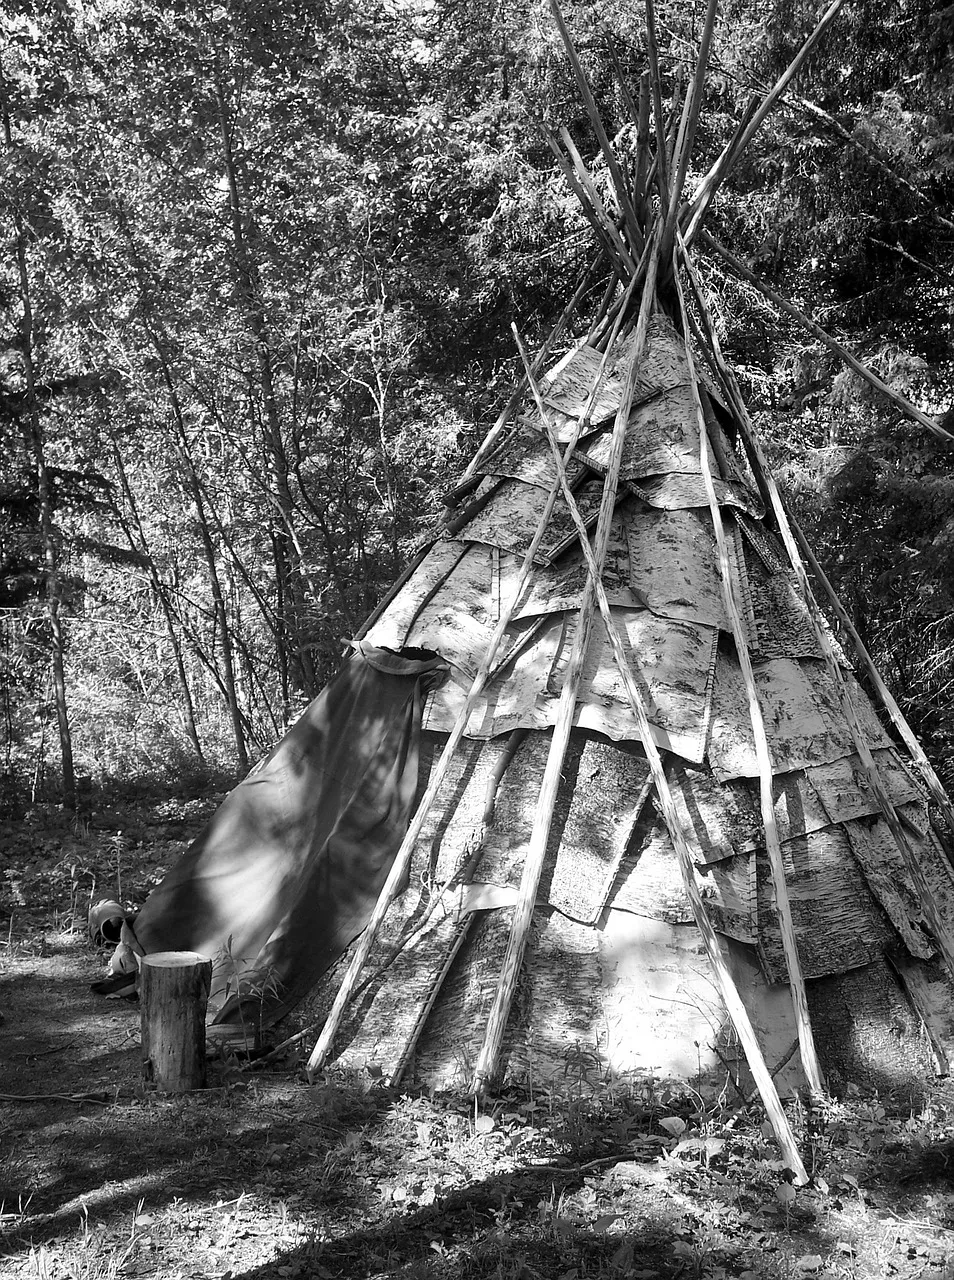
Essentially a cone–shaped framework with a circular footprint and no ridge pole – it’s one of the most iconographic camp types around. Tell me this isn’t the fort you always think of when someone mentions building one, eh?
With variations of this type of shelter found across the globe in many different cultures, from hide-covered teepees, to squatter huts like wikiups and wigwams. Although they can be quite a complicated den to build, there are a number of ways to simplify it if time is limited.
Complexity: Advanced
What you need to look out for:
For a freestanding Wickiup you need a clear, flat area to make your camp.
Positives:
Negatives:
If you’ve a bit of experience at making forts and want to take your dens to the next level, why not try your hand at making a Super Shelter! Take a look at this video by Survival Lilly for some great fort building inspiration.
Ok, you’ve done your planning, you’ve found the perfect spot in the woods… and now it’s time to get your hands dirty!
At this point, if time and energy are short you can call it a day in terms of ‘structure’ and head on over to the section below on ‘Home Comforts’.
For additional protection against the elements, roaming spies or elven archers, you can finish your camp off by blocking up the sides of the lean-to with any leftover branches and foliage.
If you’re likely to come back to the camp again, imagine how cool it would be to create another one of these structures at a right angle to the first one. A few more visits and you’d be halfway to a Super Fort!
OR, if you’ve got time, you can put branches on both sides, to create more of a tunnel. Maybe you could make the lean-to on your first visit and put the other side on next time? This then starts to turn it into the next structure, an A-frame…
Before we run through the steps needed to make this fort, let’s take a look at the build variations it can come in:
Here we’ll be looking specifically at how to make the version that’s supported by a tree (No.2), as it can easily be adapted if needed.

At this point you can make a call on how finished you want to make the exterior. Ideally you’d want to layer smaller branches, grasses and leaves onto it, but you can just as easily skip to the section below on ‘home comforts’ to add a few more personalised touches.
Don’t forget, natural shelters like this are quite hard to see at a distance (cool!) so make sure you hang a bright marker or flag on top of it when your kids are playing. And then maybe remove it when you leave so that it stays covert… 
As mentioned, this type of fort can come in a number of variations, the main ones being the two mentioned – a freestanding structure, and one that is built around a central column like a tree. We’ll be running through the steps needed to make the freestanding structure as it’s a little more complicated and easily adapted to the other styles.
Do bear in mind though, that depending on how tall your children are and how many you want to fit inside it, you can make the build much easier by lowering the overall structure and creating a shorter framework. Meaning it’s much easier to put the initial frame together and it keeps the branches to a size that are more manageable for your kids.
There’s no point putting all that effort into a fort if you don’t add a bit of personality to it. Make sure you don’t forget to write the name of your camp on a plaque and hang it near the doorway. A ‘wipe your feet’ sign is always good as well!
Bunting looks great on the outside as it helps you identify the camp from a distance (when you’re running around the woods like lunatics!). Just make sure you remember to take it home with you when you go. 😊

If you’re wanting to make the fort more of an all weather affair, then it’s a good idea to get a bit more insulation onto it.
To do this you want to add a thick layer of debris, leaves, twigs, brush or grasses onto the outside. Start at the bottom and work your way up the side of the shelter. Then weigh it all down with a few more well placed branches so that it doesn’t blow away.
The thicker this covering is the more likely it is to keep heat in and rain out!
Depending on what kind of coverage you have on the floor of your shelter you may want to build this up a bit.
By adding a layer of leaves and grasses across the floor you’ll make the whole den a lot comfier – and if you get it around 4 inches thick (compressed) it’ll serve as great insulation against the cold ground.
Make sure you keep your eyes peeled for any logs and boulders, as they make great woodland benches and chairs. If you find a decent tree stump you could always mould your camp around it and use it as a table!
Well.. where do we start… There’s a lot you can do to your fort to make it truly EPIC. Here are a few ideas to get you going:
Take a look at The Eden Project’s Den Commandments and Safe Play tips – we think they’ve got it spot on!
So that’s it folks, you should have everything you need to go out and build epic woodland dens and forest forts with the kids. Weather withstanding of course. 😉
Good luck and let us know how you get on.
The Epic Adventures Team!
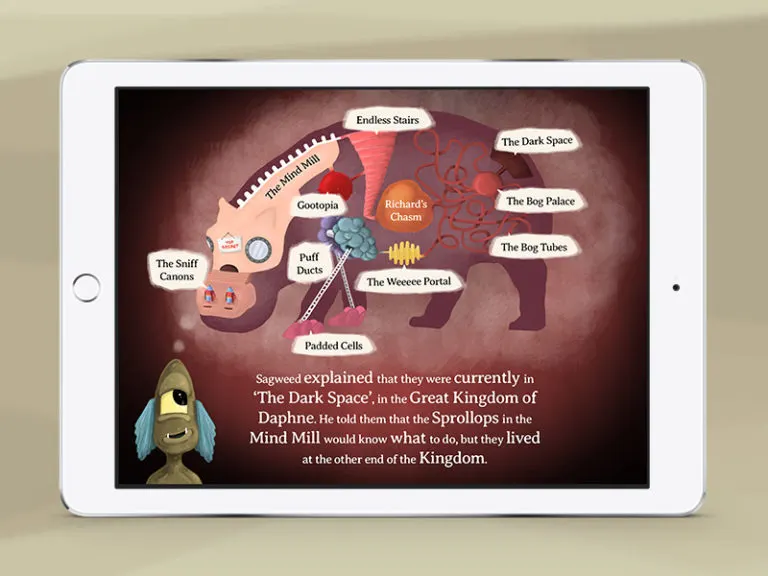
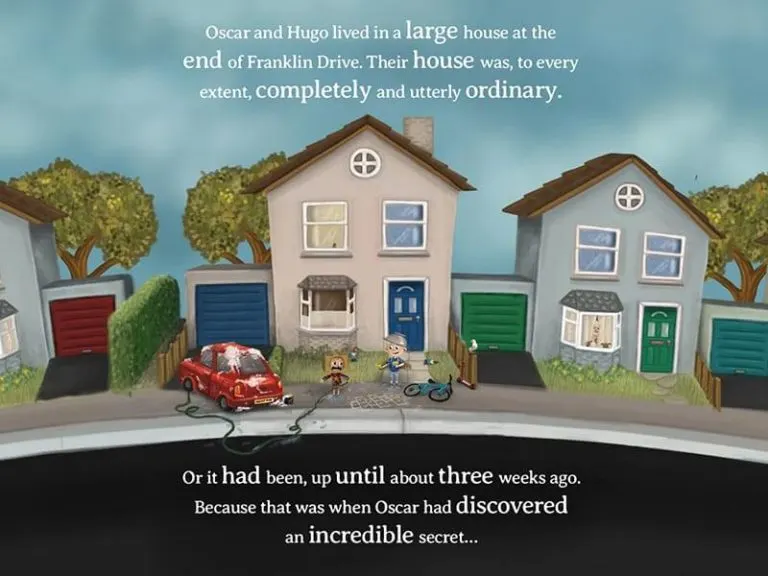
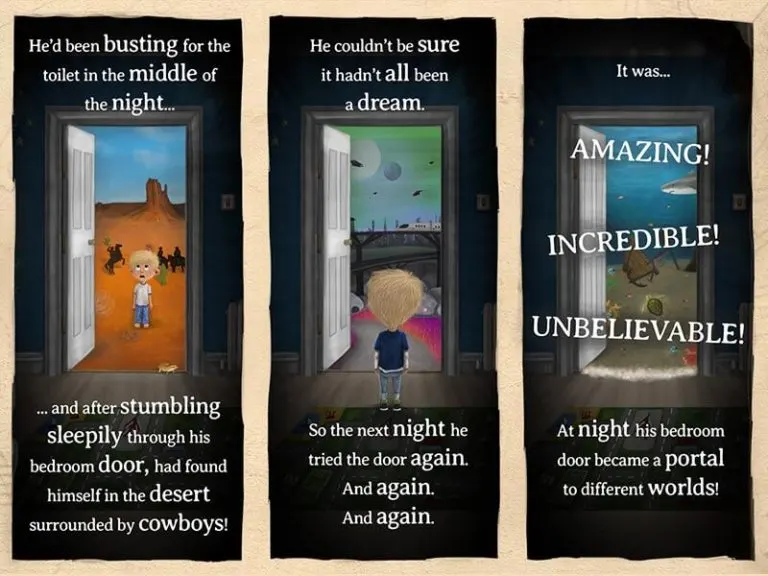
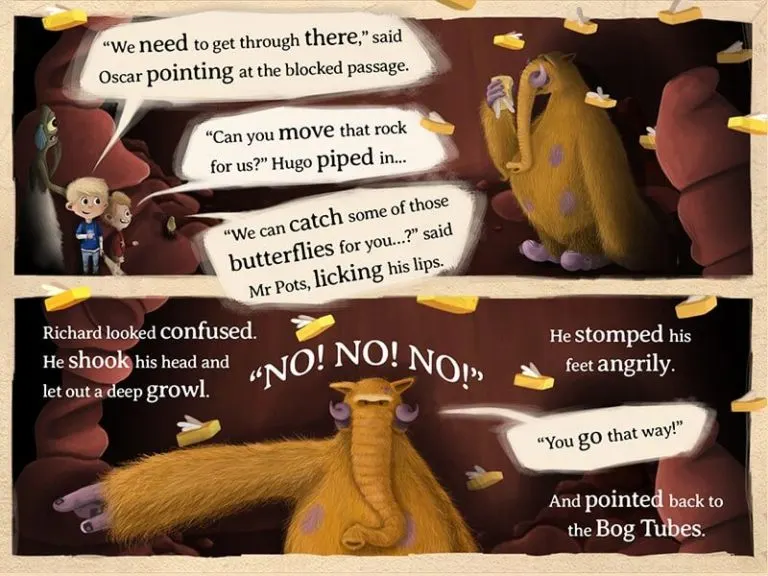

A rip-roaring adventure story for children who are more likely to play games than read books. With 6 chapters and 3500 words, Havoc in a Hippo helps use their screen time in a more productive manner.
Discover how to turn an old book into a super-secret hiding place for all of your most precious treasures!

Our practical guide shows you how to teach your child craft basics that’ll set them up for a life of making things themselves, safely and simply.

Inspire your little one’s green fingers with a project they can dip in and out of all year round.