Spring Activity Pack
Put the spring back in your step with our FREE Activity Pack, guaranteed to keep your kids entertained!
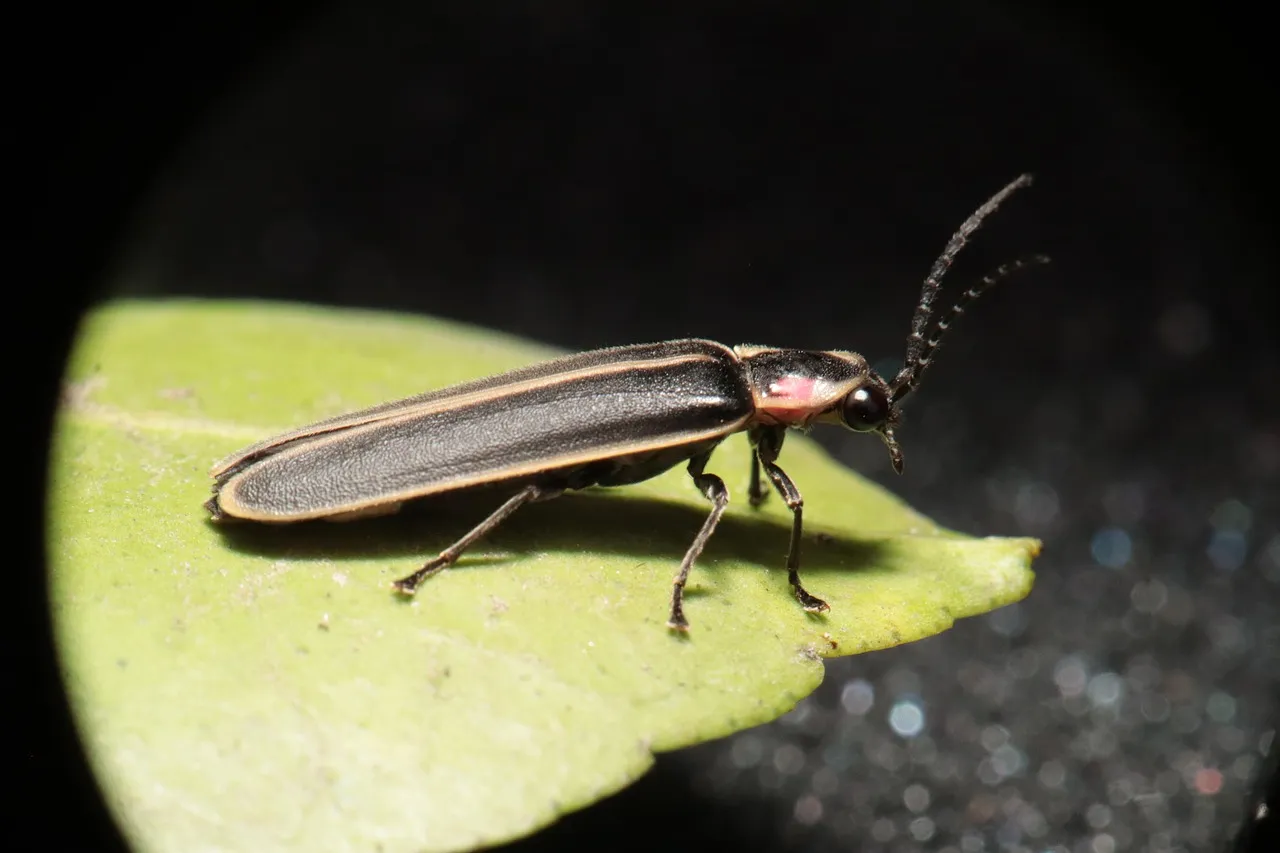
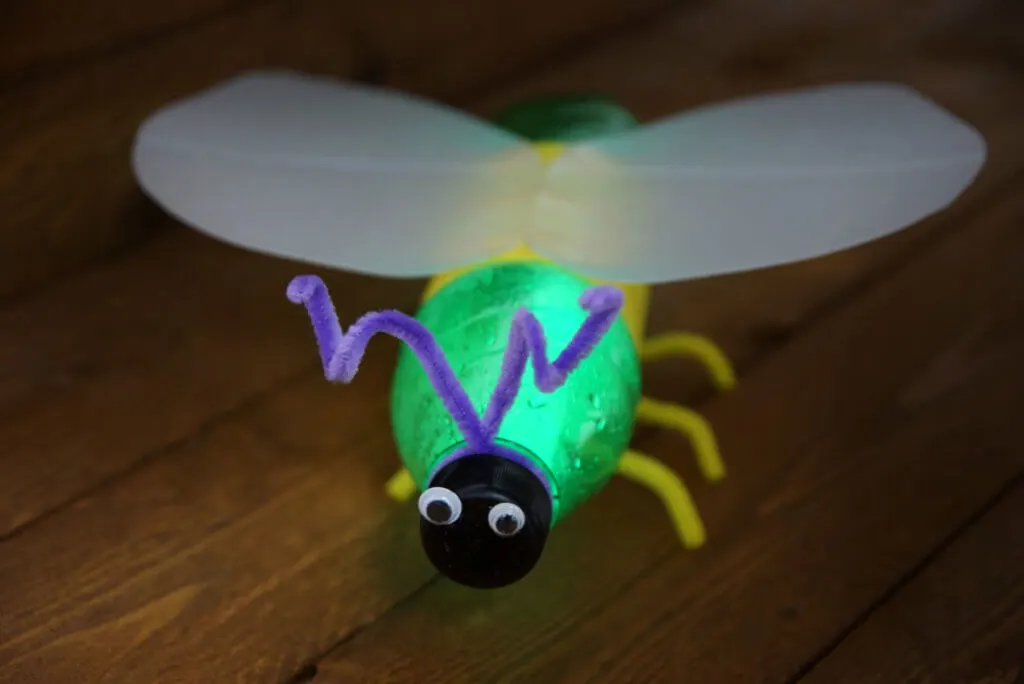
What do kids love more than cute looking critters? Cute little critters that glow in the dark of course!
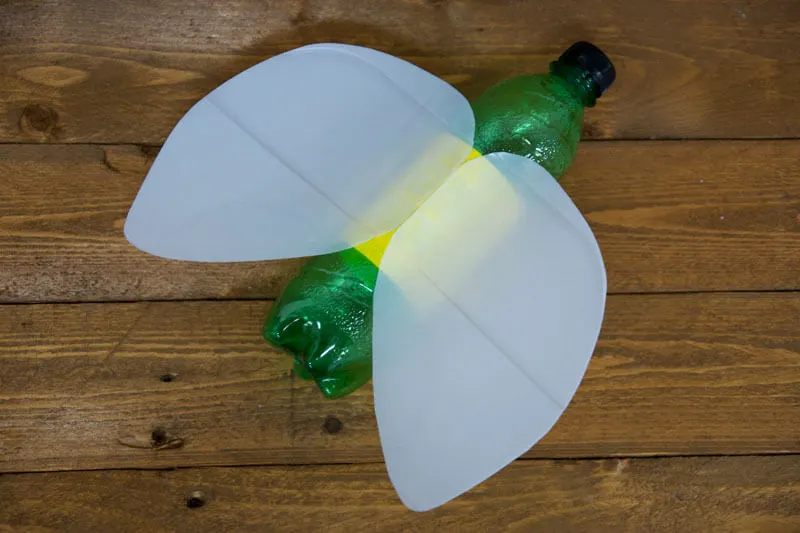
This guide will walk you through, step-by-step, how to take an old plastic bottle (or two) and create something EPIC from of an everyday object that is often taken for granted. It also gives you the chance to do something positive with your old plastic bottles!
Our favourite type of crafts? When they recycle old things to inspire epic adventures of course – especially glow in the dark firefly ones! 
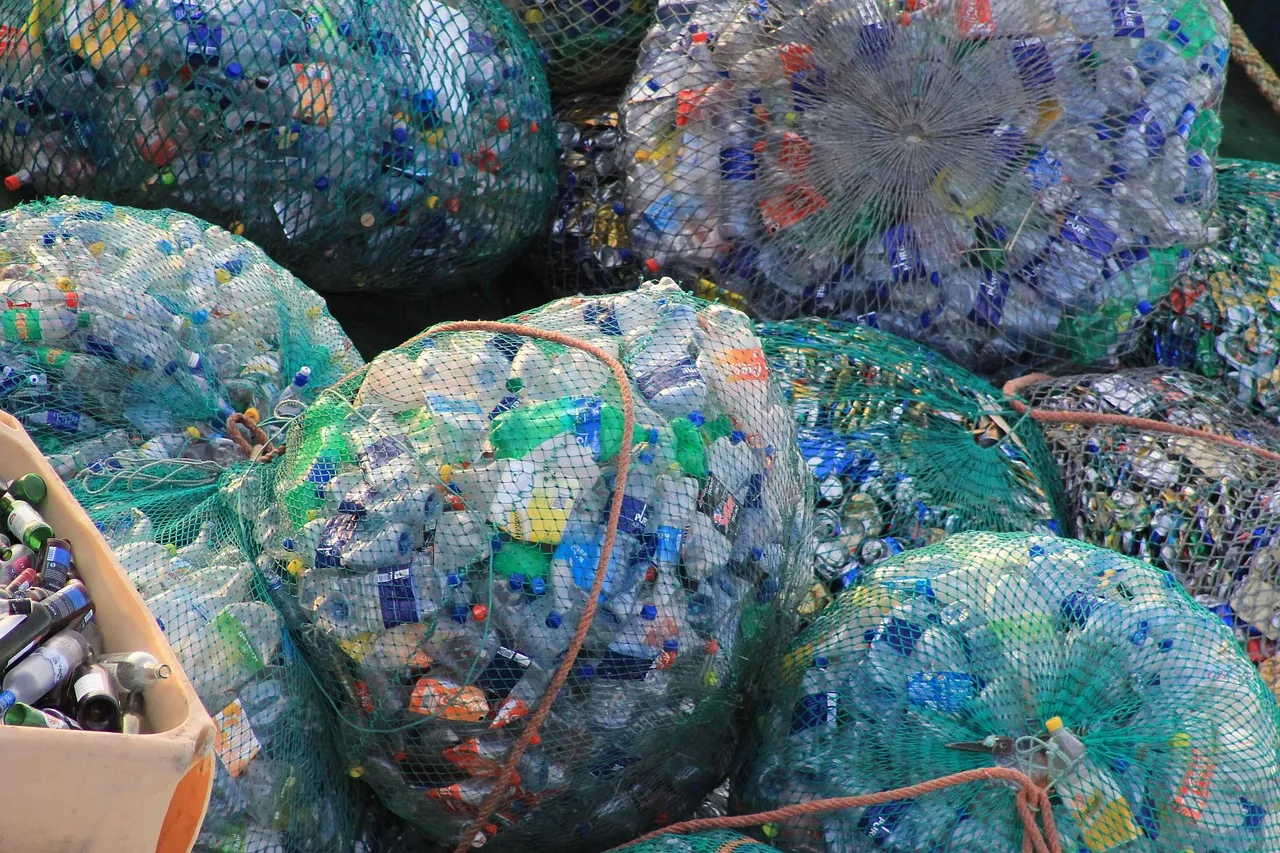
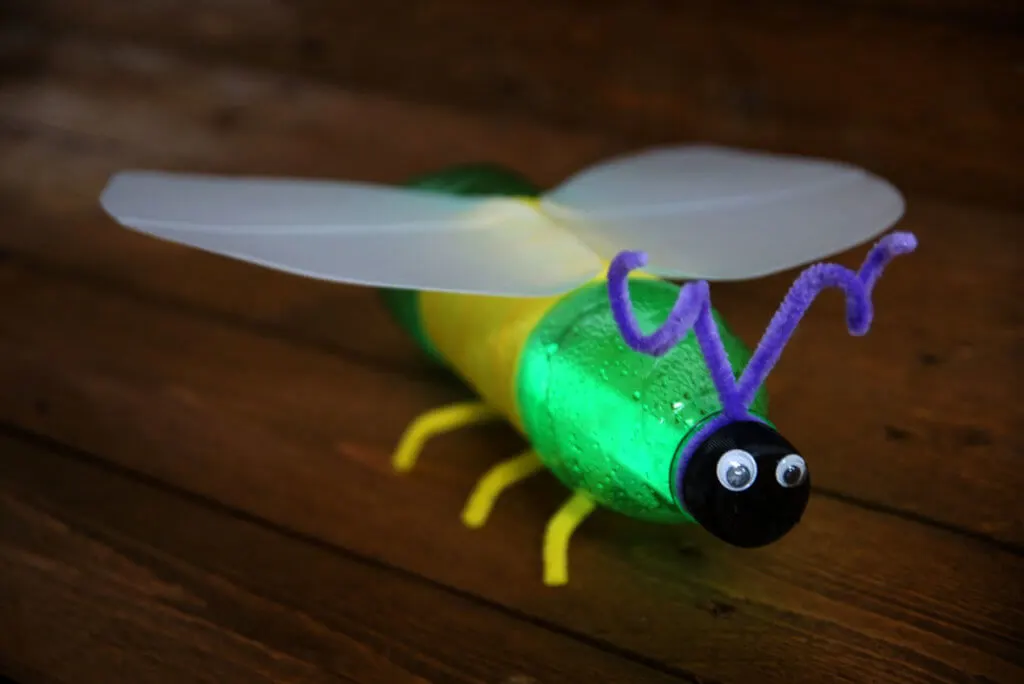
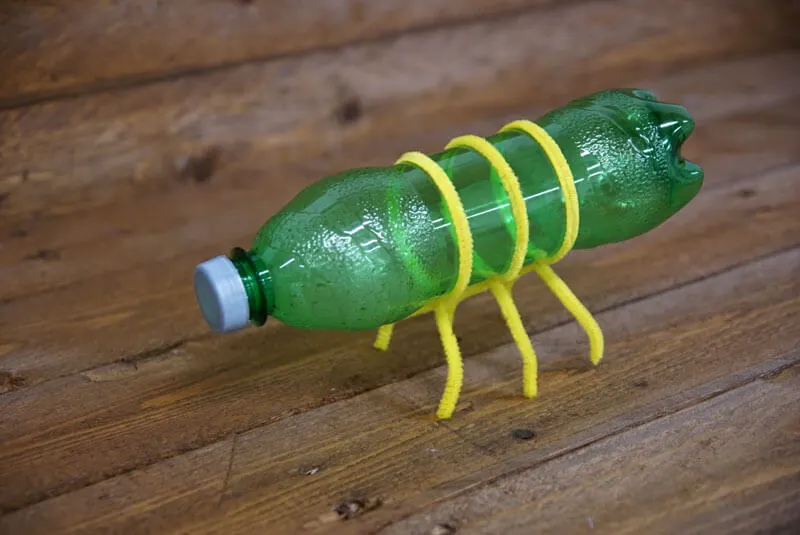
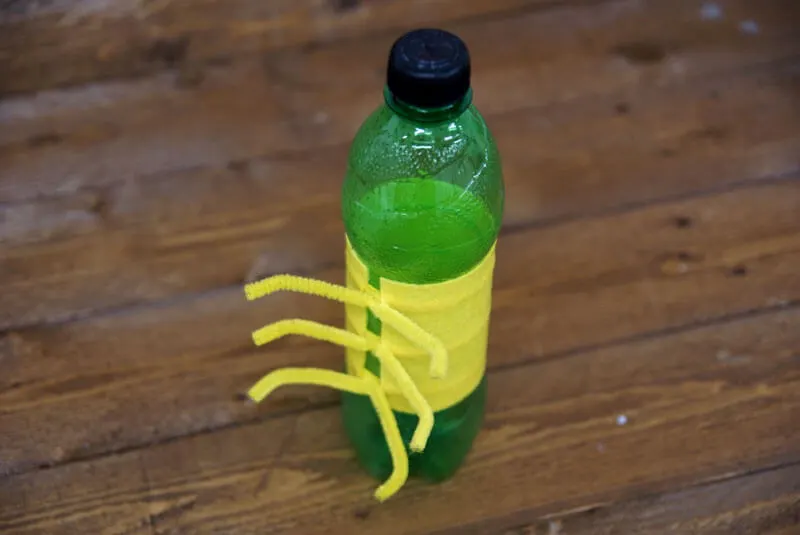
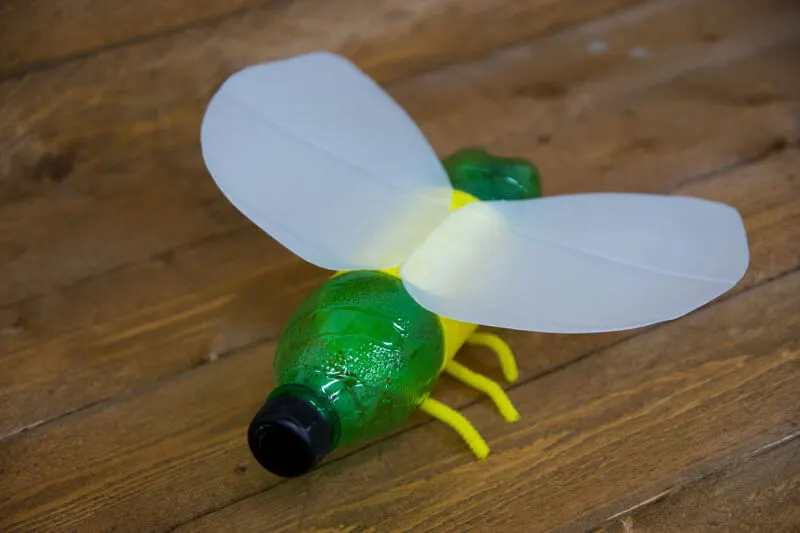
Take your green plastic soda bottle and wrap three pipe cleaners around its middle to form legs.
With each pipe cleaner you’ll want to wrap it around so that the ends are poking out an equal amount, then twist them together neatly one or two times. Once in place, straighten the ends slightly to form the legs (you could even twist them at 90° to make feet!).
Try and space each pipe cleaner out an equal distance from the others. Some bottles have a moulded space where the label goes – this forms a great line to help keep your pipe cleaners in place.
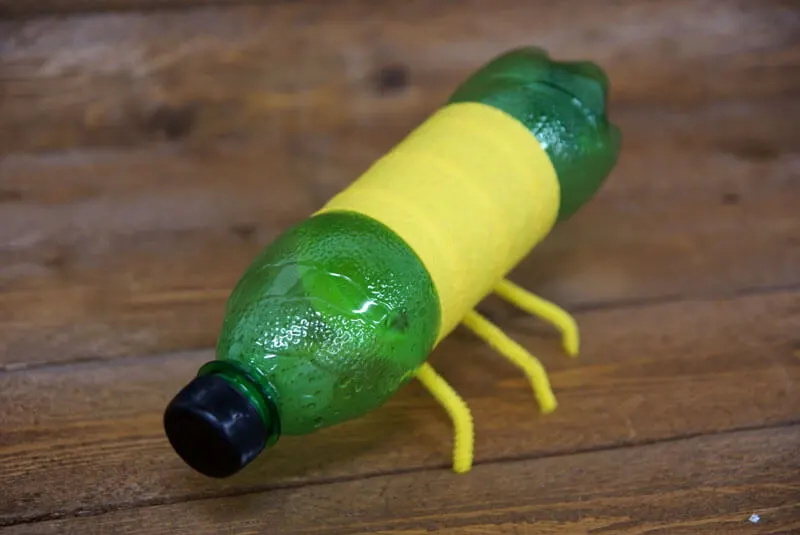
Measure your piece of felt (or coloured paper) against the side of the bottle where you want the main body to be and cut it to the appropriate width (it can be as wide or narrow as you like – we fit ours against the moulded area where the label went).
Then wrap it around the middle of the bottle, stopping at the pipe cleaner legs, and mark it with a pen where the other end nearly meets. Cut the felt neatly along this marker.
Now glue one end in place on one side of the legs and wrap the other end round to the other side and glue that end in place as well. To make this easier we used double sided sticky tape as there’s far less mess! (though it is a little fiddlier).
If the bottle top is already black then great – but if not, colour the cap in with a black marker. Or you could swap it with another recycled bottle top if it already has a black cap!
Now for the wings. You’ll need a large milk container (or bottle of a similar size), preferably one with a bit of a flat side or boxy feel to it.
Cut the bottle in half lengthways, so you have two nice big areas to cut your wings from.
Using a felt tip or magic marker, draw a rough outline for your wing onto the outside of one of the bottle halves. We made ours overlap the edge where the plastic bottle starts to curve. This was so the wing had a bit of an upward lift to it when glued to the firefly’s body.
Cut the wing roughly out of the bottle (as per below), giving you some room to manoeuvre with your scissors. Then trim it nice and neatly up to the line you drew earlier.
Now, using the finished wing as a template, place it onto the other side of the plastic bottle and draw round the outside edge with your marker.
Then cut your second wing from the bottle using the same technique as the first wing (rough outline first, then neaten it up).
Get your glue or double sided sticky tape to hand and run a strip of it down the edge of each wing where they attach to the glow bug’s body.
Hold it in place on the plastic soda bottle until the glue is set or the tape is firmly attached.
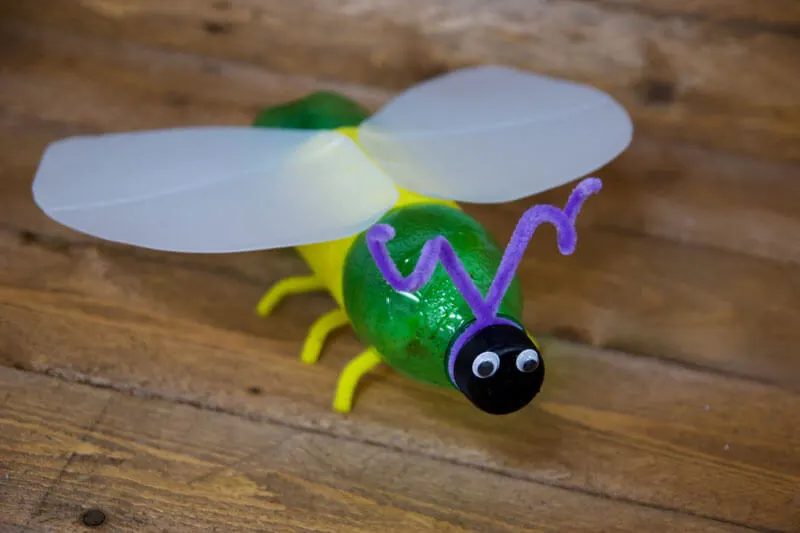
Now for the finishing touches. Stick your googly eyes to the front of the bottle cap and wrap a pipe cleaner around the neck of the bottle, (twisting it together just before the cap), and then twirl the ends to make curly antenna.
You’re done!
Whooaaa there, hold your horses… don’t get too excited, there’s one more step before you’re completely finished…
It’s not a glow bug without a glow. Insert a glow stick or two – any colour will do, but green and yellow work best in a green bottle – and NOW you are done!
This glowbug bad-boy is good to go! He’s flight checked and ready to hang as a mobile, whizz round the yard or take for test flights over the fields at dusk. Enjoy. 
A rip-roaring adventure story for children who are more likely to play games than read books. With 6 chapters and 3500 words, Havoc in a Hippo helps use their screen time in a more productive manner.

Put the spring back in your step with our FREE Activity Pack, guaranteed to keep your kids entertained!

We show you how to easily make a papier mache volcano with the kids, that’s just perfect for a geography project, or a ‘Hawaiian Day’ at school.
Inspire your little one’s green fingers with a project they can dip in and out of all year round.