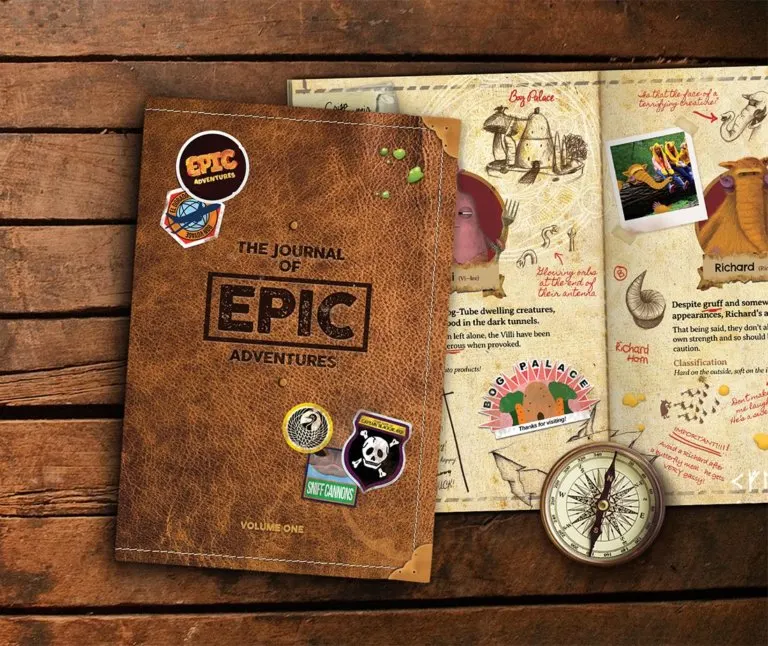
The Epic Adventurer’s Journal
Help your little one learn that true adventure can be found anywhere they’d like it to be. Jump in feet first with The Epic Adventurer’s Journal – a scrapbook of imagination, curiosity and adventure.
We show you how to easily make a papier-mâché volcano with the kids that’s just perfect for geography homework, or a ‘Hawaiian Day’ at school.
A project like this needs to do a couple of things – entertain your child AND hopefully aid them in retaining some of the amazing things they’ve learned about volcanic eruptions and magma flows.
Our model of Mauna Loa in Hawaii brings all this together, with popcorn lava bombs and diorama style notes that help your child retain those explosive volcanic facts.
First stick a flat-ish square of polystyrene into the base of your box – and paint the top of it blue. Once dry use PVA glue to stick some bubble wrap on top of the newly painted polystyrene – this will make the sea look wavey.
Scrunch up a big ball of paper into a donut shape (this will form the base of your volcano). Then stick this to the polystyrene base. If you’d like some surrounding hills (gentler slopes) then add some smaller balls next to the larger one. Two or three will do.
To make the lip of the volcano – around the edge of the big ball of paper break up some of the flat polystyrene and glue it around the edge.
Use plenty of glue! Drizzling it over the top won’t hurt…
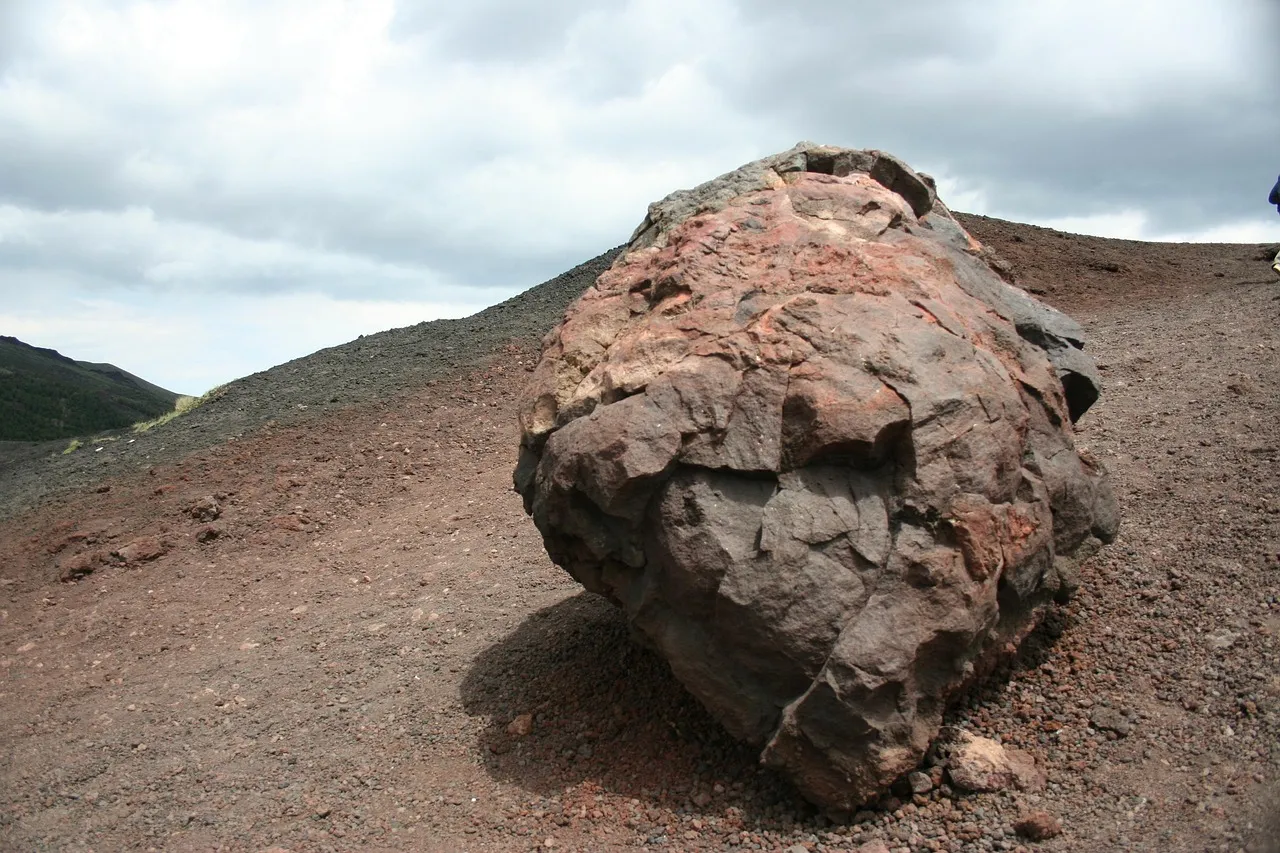
It doesn’t matter if it’s messy – rocks aren’t tidy! Now you have the basic shape of your volcano. Yes, it looks strange… but don’t worry… we will add shape later.
TIP: While the glue is drying on the base of your volcano (this will take a good few hours) you can get on with making some of the decorations – or researching your volcano facts!
Now for the lava bombs. Grab some popcorn (if you haven’t already eaten it) and paint it red and yellow. You can be super messy here – using a brush or dipping them in paint. Use lots of different sizes. Leave them to dry.
Paint the background of your box. Seeing as it it’s behind the volcano a base coat of blue will do. Mix up some blue and white to get a sky colour. And paint away.
When this has dried you can add the smoke in the sky. A tiny bit of black mixed in with the blue will give you a moody colour. Paint in a grey sky near the top of the box… using a big broad brush and sideways brush strokes.
Then add some darker blue and grey where the smoke is coming out of the volcano.
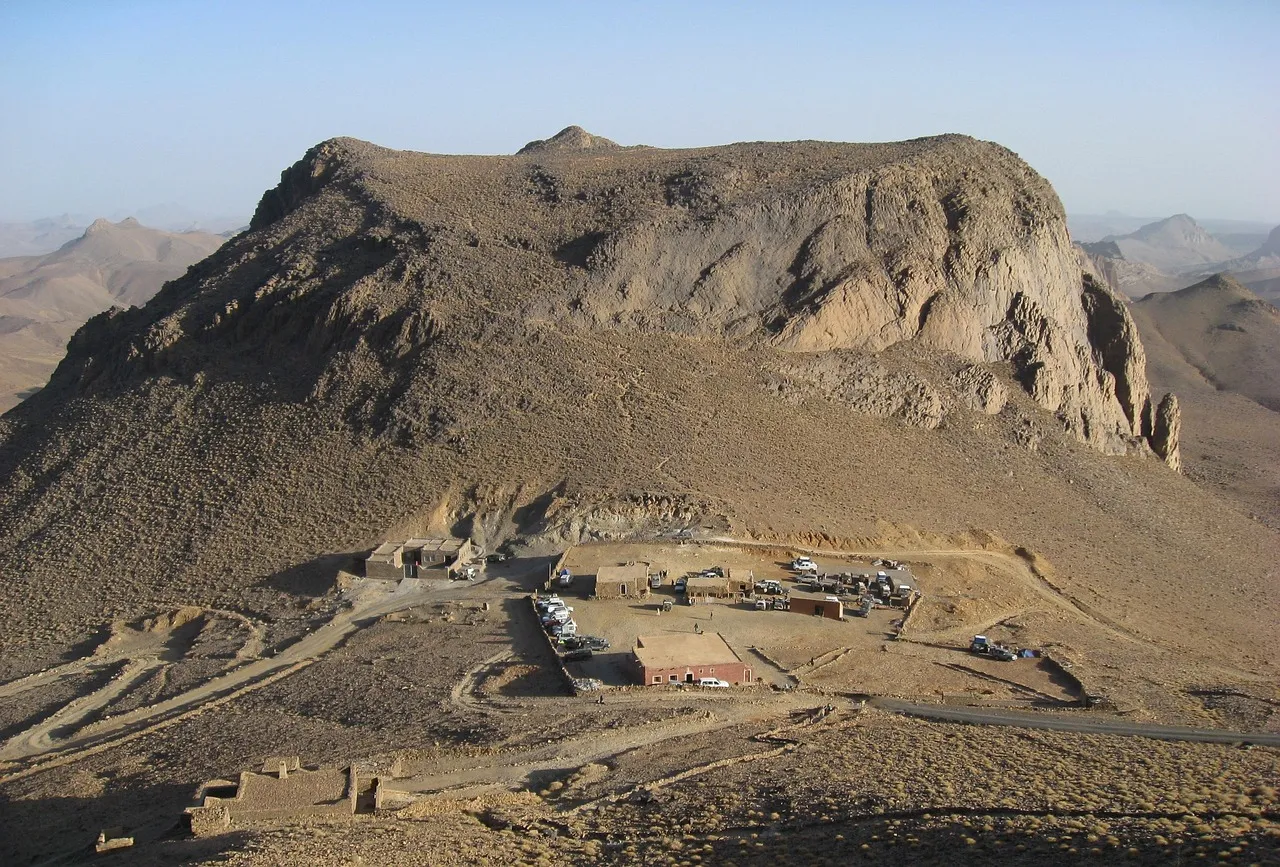
Glue some of your newly made lava bombs onto the background of your box, above the volcano, as if they’re shooting out the top.
Once the PVA glue on the volcano has set… it’s papier-mâché time!!
Tear strips of newspaper into varied widths and lengths.
To make the paste for the papier-mâché, add half a mug of flour and half a mug of water to the mixing bowl. Shake in a tablespoon of salt. And then mix it all up so it’s a consistent gloopy thickness. If you need more paste, repeat this process.
Dip the newspaper into the mix, and use your fingers to wipe off the excess… you don’t want it too soggy.
Now lay the newspaper over the volcano sub-structure… making sure the papier-mâché overlaps each time. You can squidge things around to accentuate shapes or ridges as you go. And don’t be worried, there’s no right or wrong way of doing this
You will need 2 or 3 layers until it is fully covered… including the land areas that fall into the sea.
Leave to dry overnight.
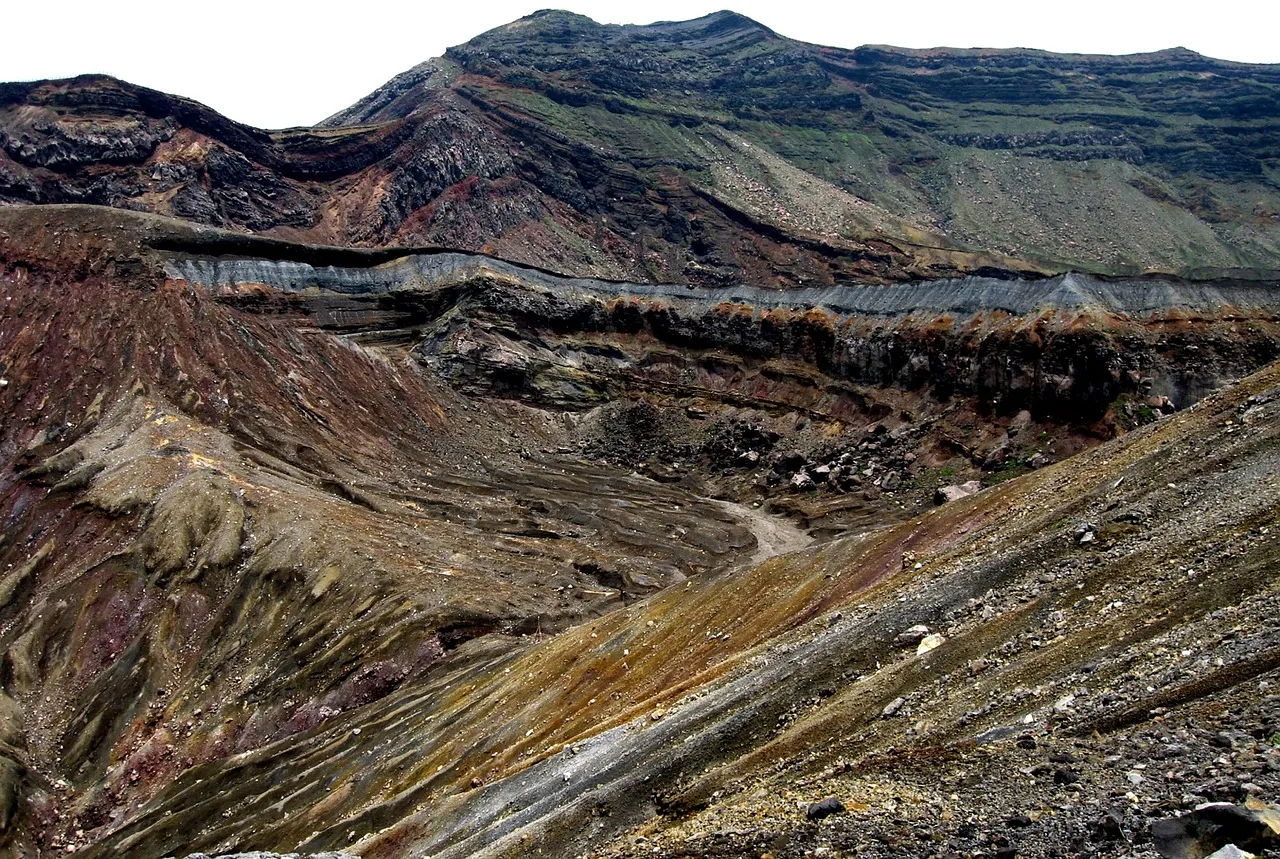
Paint the volcano – get as detailed as you want – adding highlights and shadows as you see fit. It helps to refer to a picture from a book or the internet.
Now get three cotton wool balls and rub them in red and yellow paint. Squidge them up and while wet, glue them on the top of the volcano (the crater).
While these are drying you can paint the lava flows from the top of the volcano and down the sides to the village or sea.
Now leave to dry.
TIP: Add little buildings around the land at the foot of the volcano by cutting up small squares of polystyrene, painting them grey and gluing them on the base.
Making the exploding lava involves some orange or red pipe cleaners and some orange and red tissue paper.
Take three pipe cleaners and twist them together to make a 3D flame shape. Ensuring that there’s a straight part at the bottom to stick into the top of the volcano’s crater.
Now glue squares of orange and yellow tissue paper to the pipe cleaners. The scrunchier the better 😁
Now using a skewer (or similar sharp, thin item), pierce a hole in the top of the crater through the cotton wool and push the sticking out end into it so the lava explosion points up into the sky.
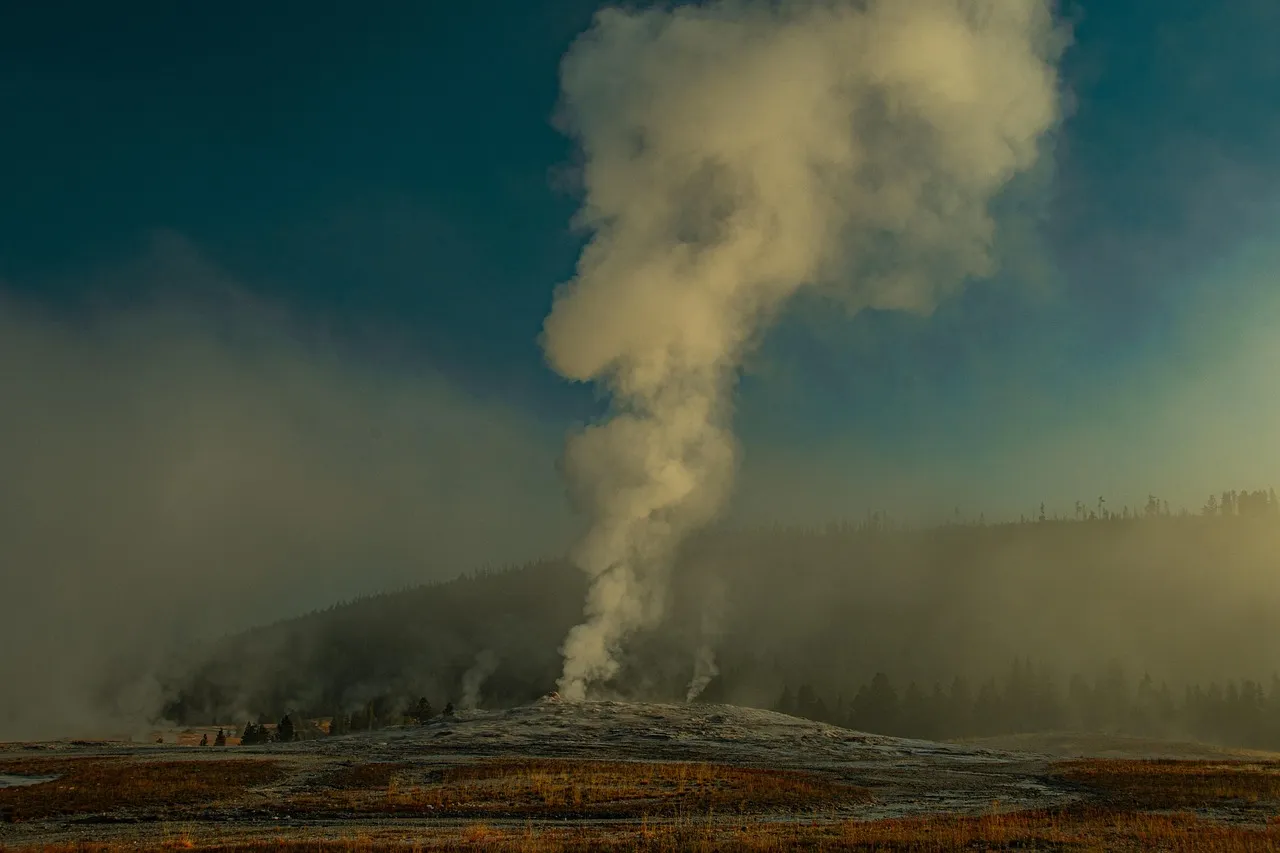
Finish your decoration by sticking any remaining lava bombs around the surrounding hillsides, volcano and villages.
The final step is to make your ‘fact flags’. You can do this in two ways:
The former is better if you don’t really know how long each sentence is going to be, whilst the latter is good for helping to control your child’s handwriting.
Glue each flag to a cocktail stick, allow to dry and then push into the relevant place on the finished diorama. And that’s it, you’re done! 😊🌋
Help your little one learn that true adventure can be found anywhere they’d like it to be. Jump in feet first with The Epic Adventurer’s Journal – a scrapbook of imagination, curiosity and adventure.
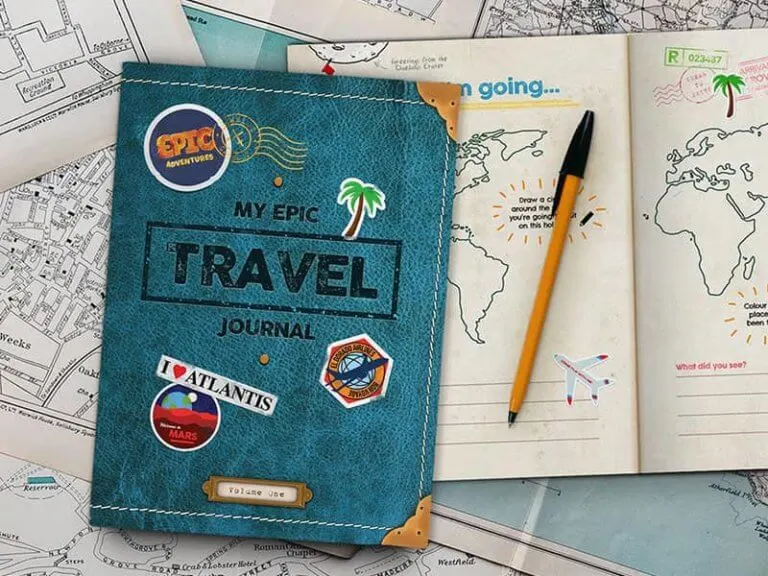
Whether you’re hitting the road on a big adventure, taking to the skies on an unforgettable family vacation, or just exploring your own backyard, keep a record of every moment in our Epic Travel Journal.
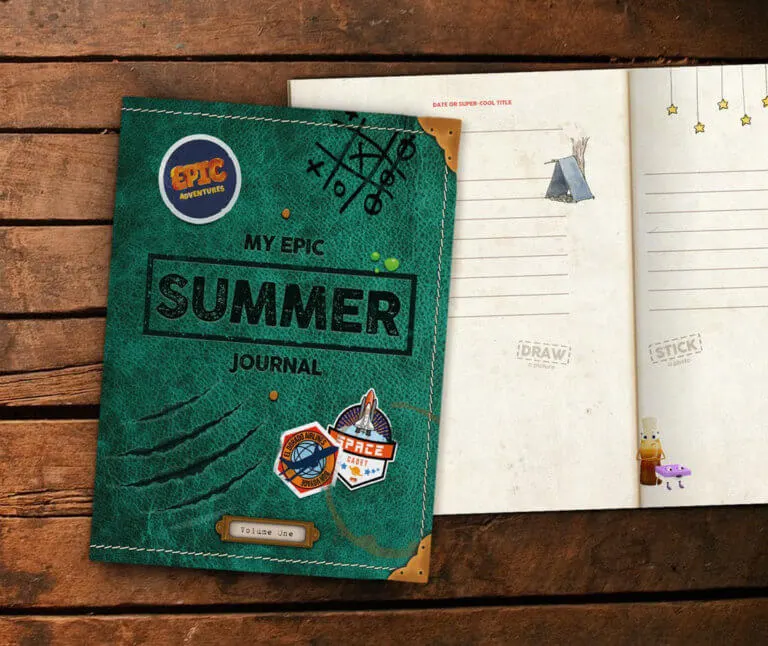
Jam-packed with activity ideas, writing prompts and scrapbooking spaces, there’s room to document your whole summer break. Perfect for back-to-school assignments or as a memory keepsake.