
Activity pack
Summer Activity Pack for Kids 2019
Make the most of your summer holidays with our FREE Activity Pack, crammed full of cool kids crafts, tasty recipes and epic activities.

“What the?! You let your kids use tools?”
It’s a common question with an easy answer. Yes. My children use tools because they know how to do it safely. At 8 and 11, my two girls have been using screwdrivers, saws and pliers for years, and these practical skills have served them well.
When children are introduced to tools at an early age, they will continue to learn how to safely use them as they grow – making repairs or completing projects.
Woodworking and other DIY activities provide an excellent play situation in which children can work on their problem-solving skills, developing hand-eye co-ordination, spatial awareness, precision, and understanding how to use potentially dangerous tools safely. If nothing else, learning how to use tools properly helps boost a child’s self-confidence, self-regulation and self-control, creating students who are more focused and motivated to learn.
From a more physiological perspective, the act of using real tools has also been found to support the development of young children’s arm and hand muscles, which is a double bonus because it helps familiarise them with pre-writing tools before they move into their first year of school.
So are you convinced?
If you want some guidance on a few tools you can introduce your children too, check out our suggestions below…

A little common sense goes a long way: Never leave your child unattended with any tools. Use your own judgement as to what age feels appropriate for your child to use hand tools unsupervised.
Children don’t really have the strength to hold wood and use tools at the same time like adults do, so vices and clamps are a must-have to hold everything still. Plus, you don’t want them putting their hands or fingers in the way.
They may however need a little help to get the required clamping force to stop the wood moving. So help them out by getting them to tighten the vice as much as they can, and then giving it the last turn for them.

Recommended age: 4+ years
Give your little one some sandpaper or a sanding block and let them loose on some old wood pieces. There’s not much that can go wrong here, but it’s still good to keep an eye out.
This sort of activity can also be good practice for teaching your kids about clearing up!

Recommended age: 6+ years
First off, let your kids get used to the weight of the hammer. Talk to them about how it works and how to properly hold it (with two hands spaced apart).
Next you can get your child to practice their accuracy. Draw targets on a bit of wood and get them to try and hit the same one repeatedly. The more accurate they are the better for everyone – especially if you’re the one holding the nails for them in the future!
Now you can move onto something a lot more fun. Start off some nails in an old stump or chunk of wood that’s been secured down. Then let your little DIYers go to town hammering every nail until it’s flush.
TOP TIP: Roofing nails work well for activities like this because their big heads make them easy to hit and their short bodies mean they don’t bend very easily.
Once they have the technique nailed (forgive the pun) you can let your children try holding a small nail themselves and hammering it into some soft wood. It’s likely they’ll miss a bit and may even catch themselves – but practice makes perfect!
Bashing in nails isn’t the only thing you can use a hammer for. A claw hammer is essential for pulling out those inevitable bent nails. You can create a practice board to help your child work out the right technique.
Recommended age: 6+ years (always supervised)
The hand saw is one of the most basic tools found in a toolbox and despite its scary looks, it’s actually one of the easiest and safest tools to use. Why? Because there isn’t much need for little hands to get near the blade.
How to saw like a carpenter…

Recommended age: 7+ years
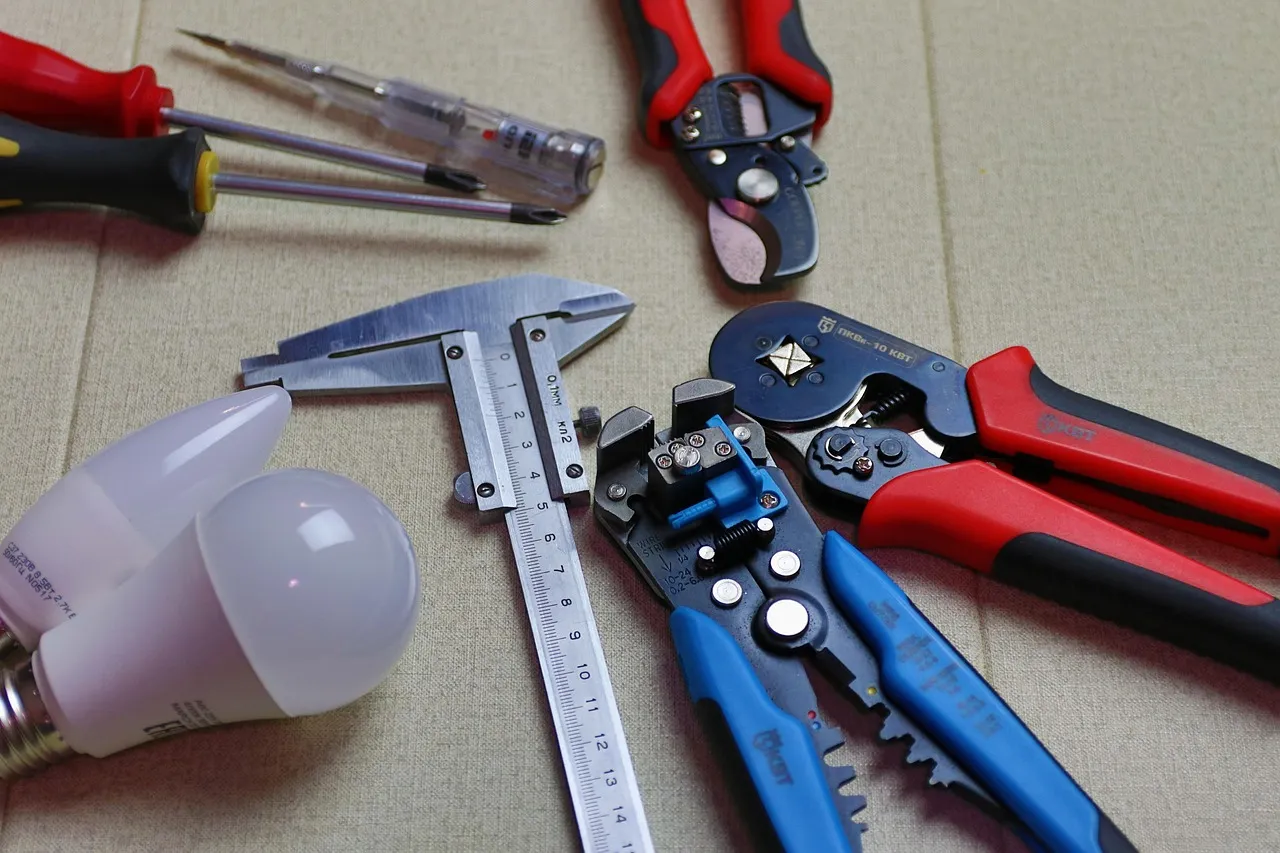
If your child is ok with scissors then they can handle pliers. Start off with smaller ones (think about the size of their hands) and get some with comfy rubber grips.
To help them get used to using pliers, give them a spool of copper wire and let them have a play. Once they get the hang of it they’ll be bending, cutting, and twisting wire into whatever shape they want.

Recommended age: 9+ years
Now this is a step up – a proper power tool – so it should be approached with caution. Although we say a recommended age of 9 years, it’s up to you to judge whether your child seems capable and responsible enough to follow instructions.
There are a few tips to help you and your children use a drill safely…
A drill can also have other uses. You can attach screwdriver bits to your drill, start some screws in an old scrap of wood, and let your little ones finish them off.

Recommended age: 4+ years (for blunt starter knife) 8+ years (for a sharp knife)
Knives get a bad rap (and too right you probably say), but learning how to use a knife properly and for its intended use teaches critical and transferable motor skills.
Whether your little one wants to help in the kitchen or in the workshop the premise is the same – teach them to be safe and responsible – once they have that nailed, they can get as creative as they want.
Start off with a blunt knife (a butter knife or equivalent) and teach your children the basics. You can cut up play-doh if that makes you feel less nervous, but the kids will love helping you with dinner if they get to cut up the butter into cubes, or slice the cheese.
Once your little one is proficient with a knife, it’s actually better to use a sharp one – dull knives tend to slip off what you’re cutting, making it more likely that you will cut yourself.
Here are a few knife-cutting tips:
Every child needs a record of their exploits – a journal of their summer adventures. Jam-packed with activity ideas, writing prompts and scrapbooking spaces, there’s room to document your whole summer break. Perfect for back-to-school assignments or as a memory keepsake.
Make the most of your summer holidays with our FREE Activity Pack, crammed full of cool kids crafts, tasty recipes and epic activities.

We show you how to easily make a papier mache volcano with the kids, that’s just perfect for a geography project, or a ‘Hawaiian Day’ at school.
It’s all very well doing fun things with our kids, but how do we turn everyday chores into EPIC adventures? How do we take the stress out of guiding our children?